DIY Solar

You can install solar on your home, with your own hands, and we can help you. Our non-profit solar kits will save you big money.

top title 00
clip money
We’re a non-profit co-op

Our goal is to promote do-it-yourself solar in Canada. Our non-profit solar kits are available to members at a low cost and can be shipped to your home. Membership is $50.

clip community
A cooperative community

Co-op members support and encourage one another. If you have questions about your solar install, ask in the forum and you’ll get help. We want you to succeed!

clip emplates
A DIY Solar Guide to follow

We have a comprehensive DIY Solar Guide for installing grid-tied solar on your home. Our solar kits include single line diagram electrical templates you can use. From A-Z we’ve got you covered.


The best home project you’ll ever do

It’ll go like this:

You’ll climb up on your roof wearing fall protection gear (a harness with a rope and anchor). Once you’re up there, you’ll do some measurements, make some chalk marks, then find your first roof truss. You’ll tap your hammer along until you can clearly hear the sound of the truss below you. Bam, found it. You’ll drill a hole into the truss, then screw in an anchor bolt. After that, you’ll apply some roof caulk to a flashing and slide it up under the shingles above your anchor bolt. If you make some mistakes and have to drill multiple holes to correctly find your truss, no worries: the large flashing will fully cover these holes. The rest of the racking goes together like an IKEA build. It’s not too complicated, but yes, you are working up on a roof so being safe is critical.

Next you’ll attach the microinverters to the racking. You’re now almost ready to install the solar panels. First you’ll need a special rooftop junction box installed on the roof which you’ll feed the cable(s) from your microinverters into. In this junction box you’ll connect to an electrical cable which will run down to your main breaker panel area which is likely in your basement. Things get a little more complicated with the electrical stuff at your main breaker panel, but that’s ok – your electrical permit requires you to work with a master electrician to make sure everything is done right. You will use your electrician to verify the design (we provide templates you can start with). And, you can either pay them to do all the electrical work or, if you’re ambitious, you can do most of the work yourself and then have them review it.

Once your electrical is done and approved, you’ll install the solar panels onto the racking and plug the panels into the microinverters. At this point, you’re pretty much done. Once your permit(s) are done and your utility upgrades your meter to be bi-directional, they’ll let you hit the breaker switch to turn on your solar system!

Interested to learn more? Start reading the DIY Solar Guide or check out our Solar Kits.


Frequently Asked Questions

Have a question not listed below? Make a post in the forum and we’ll do our best to answer.

Install costs vary by province and region, but the DIY cost to install 10kW of AC solar will be roughly $13,000 ($1.3 per watt), while an equivalent turn-key install from a solar company will be $25,000 ($2.5 per watt).

Yes! Exactly how long it take to “pay off your system” varies. You’re going to have to crunch some numbers to figure it out. Some people can pay off their system in 5 years. Each province and utility has different net metering programs where you earn extra credits during times of excess electricity production (summer), and then in the winter you use these credits to pay for electricity that you’ll be mostly pulling from the grid. You’ll need to research your current cost of electricity and also research the nuances of how their net meter program will work for you.

Very unlikely. The microinverters that come with our solar kits are equipped with “rapid shutdown”, which means they will only output electrical current if they detect a full connection to the electrical grid. This means you can safely work on the roof wiring and rooftop junction box without fear of an electrical shock from the solar panels. If you work directly in your main breaker panel or with a subpanel that’s energized from the grid, then things get serious. This work should only be done if you’re familiar and confident in what you’re doing, otherwise you should have your electrician do the work.

Yes, working on a roof is dangerous. Fall protection equipment must be worn at all times. Working on a ladder is dangerous. Stabilizer arms and a means of securing the feet of the ladder to avoid kick out should be used. The steeper your roof is, the less safe it will be to work on. Scaffolding, roof jacks and even renting a boom lift are options if needed. Using a thick foam cushion can be very useful for extra grip (and comfort) when working on a roof. Once you install your first bottom rail, it works nicely to stand on while installing the rest of your racking.

Most roofs can handle solar, but you should check a few things: Do you have a large, mostly unshaded area facing south (or west/east)? Is your roof less than 10 years old and in good condition? Asphalt shingle roofs are easiest; metal roofs can work well too. If your roof is in poor shape or heavily shaded, solar may not be cost-effective.

It depends on how much electricity you use and how much roof space you have. Look at your past 12 months of electricity bills and figure out your annual kWh usage. Start by following the steps in the Calculate your annual electricity consumption section of the DIY Solar Guide as well as the Calculating AC System Size section and the Solar Kit and Electrical Costs section.

Shipping costs vary greatly and will range from roughly 2-5% of the total cost of the solar kit. Once you place your order we will calculate the freight cost and then confirm with you before proceeding.

If you want to cancel or return a non-damaged item after the item has already been shipped or delivered (a non-warranty return), you will need to pay for the shipping costs back to the warehouse and a 35% restocking fee will also be applied as well.

Yes, you will be provided a tracking number for the courier handling the shipment. All couriers provide tracking updates on their websites. If you have any issues, contact us and we can assist.

All purchases are provided with delivery insurance which will cover any damage or loss during shipping. When your shipment arrives, you must thoroughly check for any damages. Any damages upon delivery should be noted on the delivery driver’s waybill and you should also be provided a copy of this. Please take pictures of the damage and your copy of the waybill and send these to Solar Circle Co-op within 24 hours of the delivery ( [email protected] ) and we will help resolve the issue.

We don’t sell small orders because we are a non-profit with a limited amount of resources. In order to keep solar kit prices very low, we focus solely on large orders (entire solar kits). As a result, the cooperative avoids any costs that managing small orders would require. The savings are reflected in the solar kit prices.

We are a non-profit cooperative based in Calgary, Alberta. Our membership is open to all Canadians and our solar kits ship across Canada. The distributors we source from with have warehouse locations across Canada. Our mission is to promote DIY Solar in Canada, provide the guidance to aid homeowners in their installs, and create a cooperative community where members help and encourage one another.

If you’d like extra reassurance and peace of mind when purchasing a solar kit from us, we’d recommend using a credit card for payment instead of E-transfer. Using a credit card will give you extra protections like the ability to dispute a charge and initiate a charge back.

Yes. South-facing is ideal, but east or west facing roofs can still work. You might need a few extra panels to get the same annual production compared to a south-facing setup. Avoid heavy shade or large obstructions. Follow the steps in the Design Specifics section of the DIY Solar Guide for using the OpenSolar.com tool to accurately estimate your rooftop potential.

Check the Solar Kit and Electrical Costs section of the DIY Solar Guide to get an idea of what the solar kit will contain, and also check the Order useful tools, safety gear and other materials section to learn what other tools will be useful to have.

Yes, most places across Canada will require at least an electrical permit for rooftop solar. You’ll need the assistance of a master electrician to do this, and sometimes your area may also require a structural/building permit. You’ll need to check with your local authority or municipality before starting your install.

Yes, you will need a master electrician to pull your electrical permit. The amount of work you want your electrician to do is ultimately up to you. You can ask your electrician to handle everything (design the electrical work, pull the permit, and do all the physical work). Or, you can try and do as much of the work yourself and simply have the electrician approve your work. Single line diagram electrical templates are listed on all of the solar kit pages, which is a great starting point when discussing the install with your electrician. Check the Electrical section of the DIY Solar Guide for more details.

No. Grid connection requires utility approval, permits, inspections, and a licensed electrician to sign off on the final tie-in. We’ll guide you through the process, but your utility won’t let you plug it in without approvals.

Your utility’s requirements vary by province and region. Usually they want to see your annual electricity consumption calculation, the kW size of your solar install as a basic line diagram of your electrical design. Check the Paperwork: Interconnection agreements and permits section of the DIY Solar Guide for more details.

Yes. Your home remains connected to the grid, so at night or on cloudy days, you draw power from the grid automatically.

Solar panels are low maintenance. In most areas, rain will keep them clean. If you live in a dusty or snowy area, you can rinse them off gently or sweep off snow if you want (but often it’s not necessary). Spraying your panels with water from your garden hose can actually be detrimental if your water has high mineral content.

No, unless you have battery backup. Grid-tied solar systems automatically shut off during an outage to protect utility workers.

Most solar panels are warrantied for 25 years, and many keep producing well beyond that. Our solar kits contain APsystems microinverters that have a standard 12 year warranty which can be extended to 25 years if desired (the Extended Warranty is highly recommended and is included in solar kits by default).

It depends on where you live. But the only real incentive available for most Canadians is the Canada Greener Homes Loan which is an interest-free 10 year loan (up to $40,000) that allows DIY solar installs. Ontario has a ‘Home Renovation Savings Program’, but it does not allow net metering, so it doesn’t really make sense for most homeowners considering solar in Ontario. Additionally, this program does not allow DIY installs.

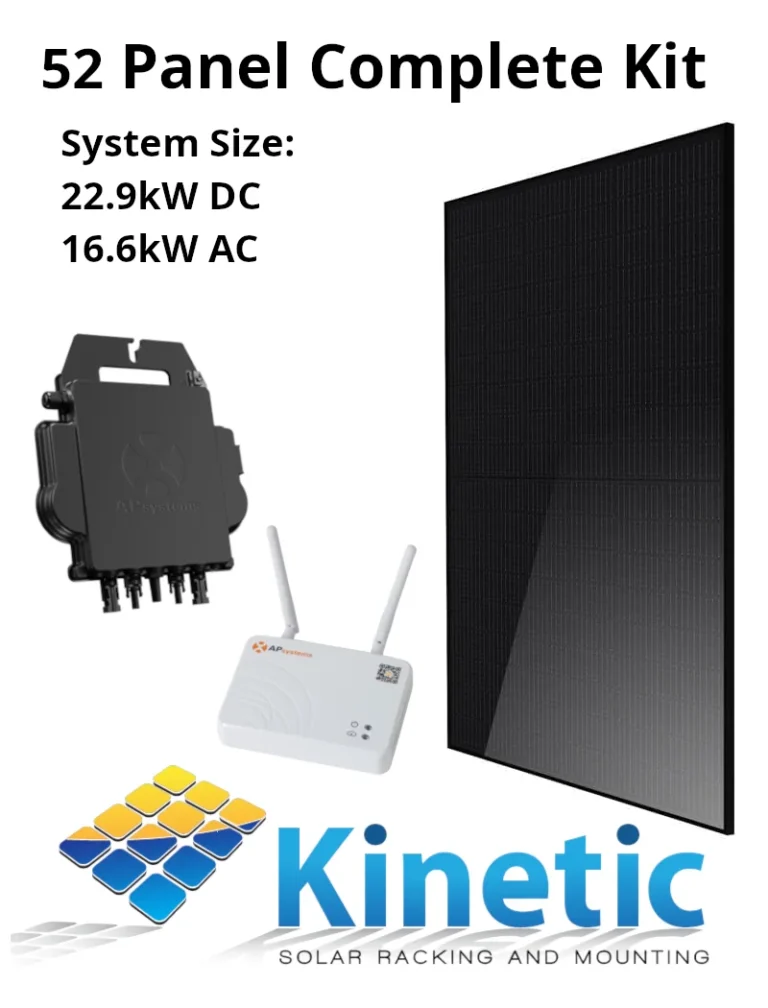
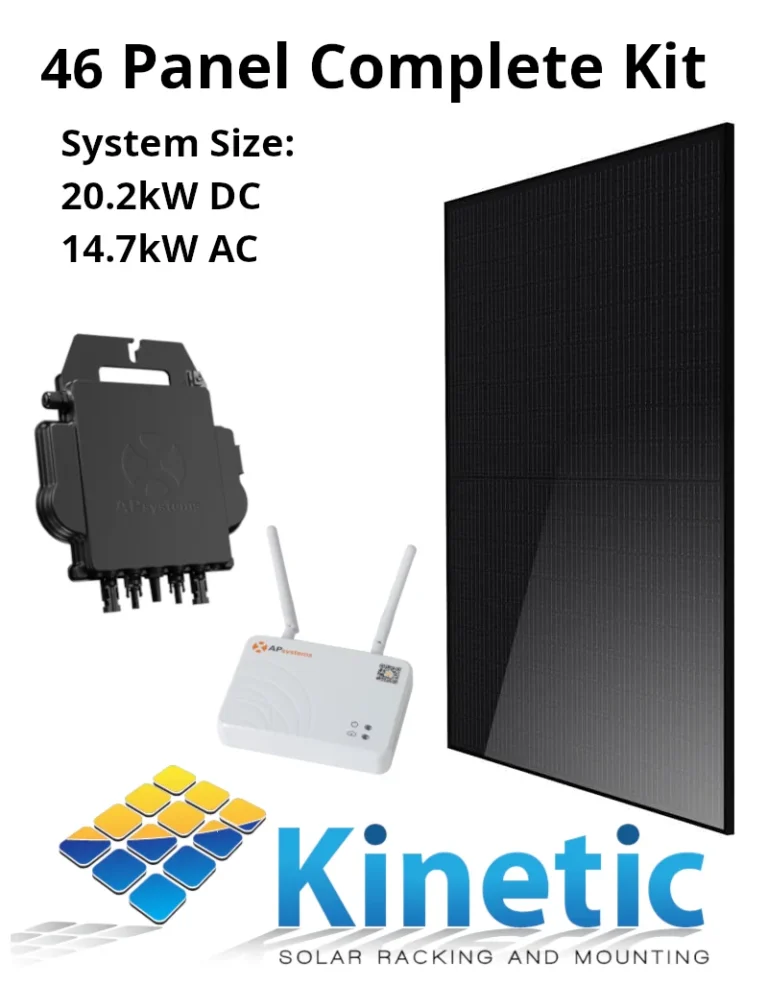
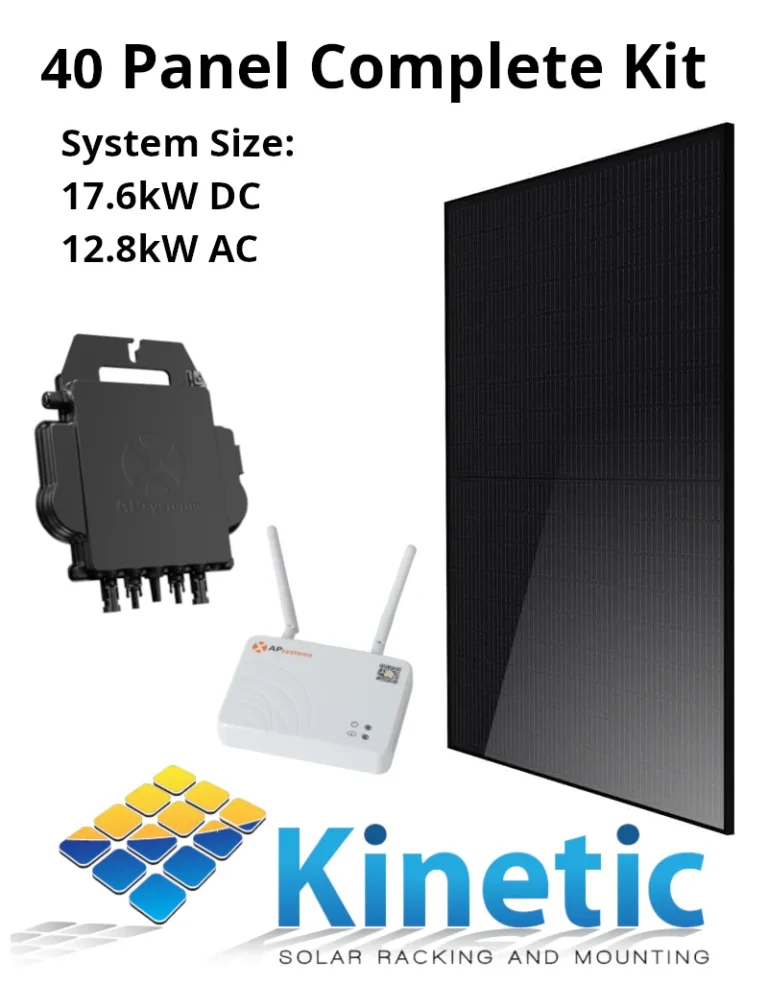
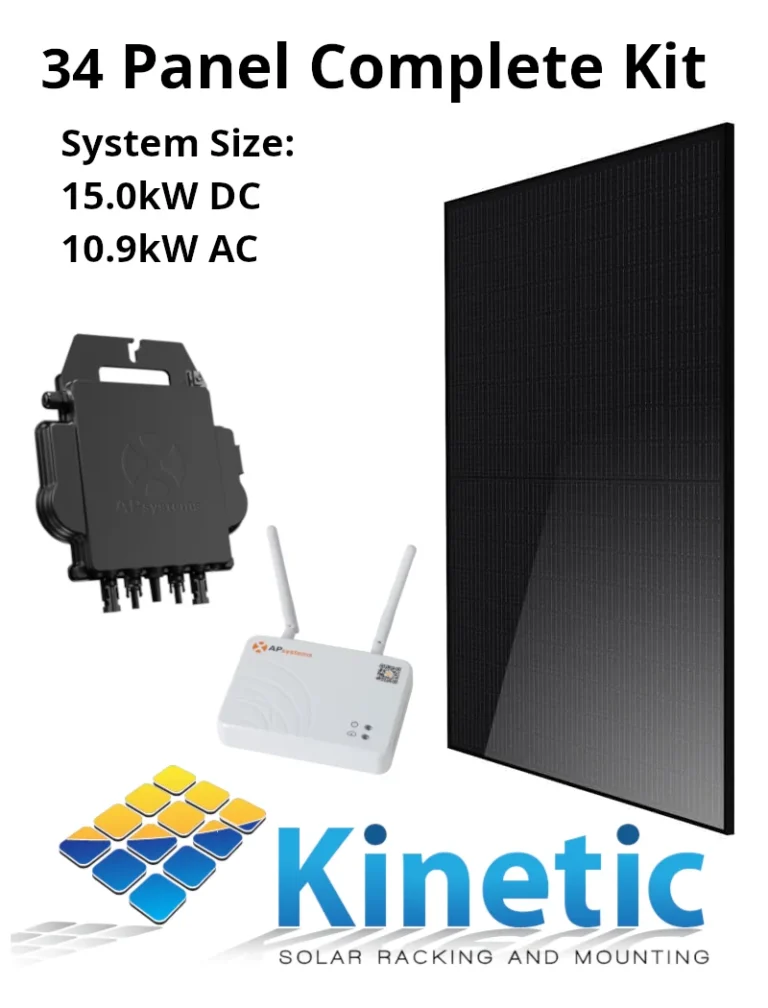
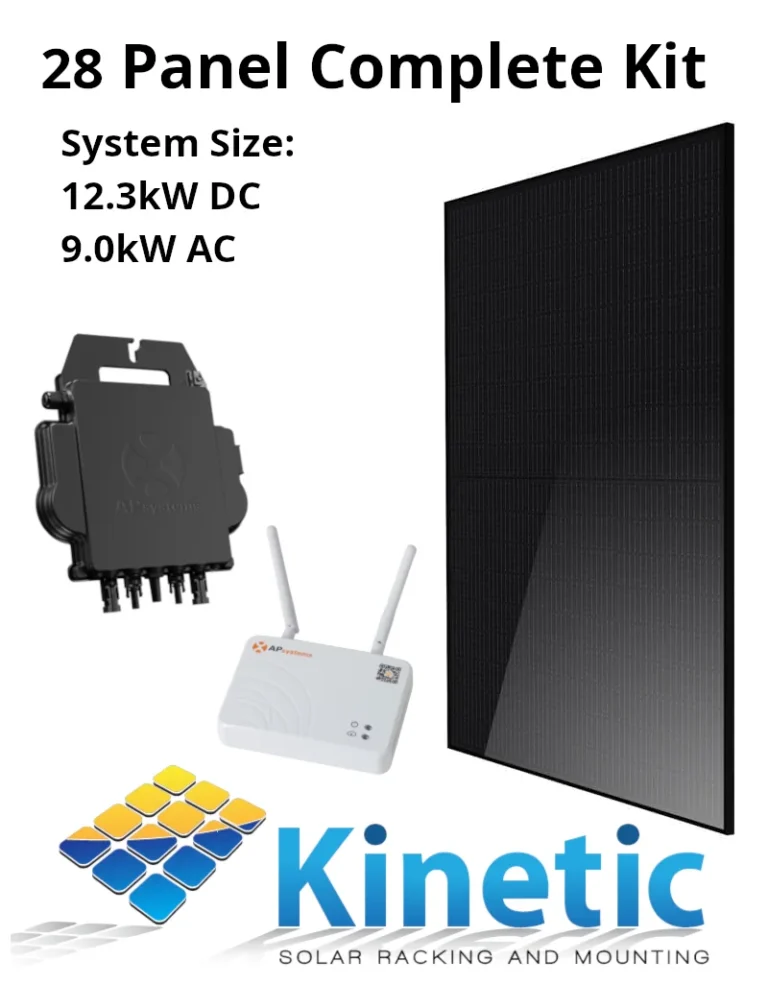
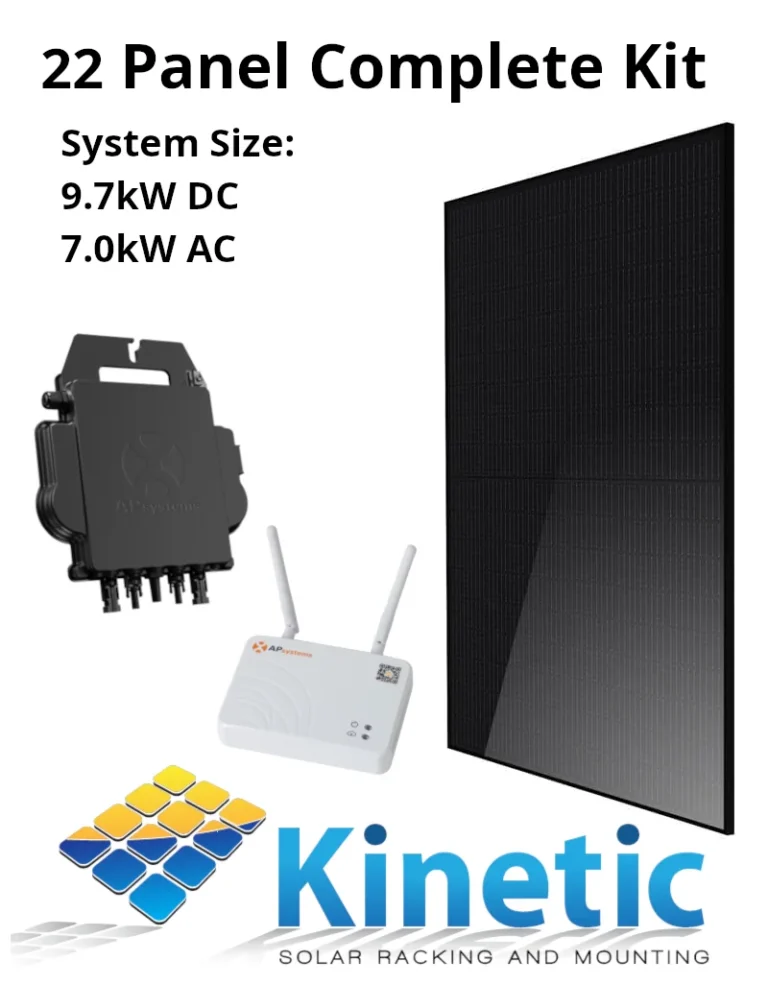
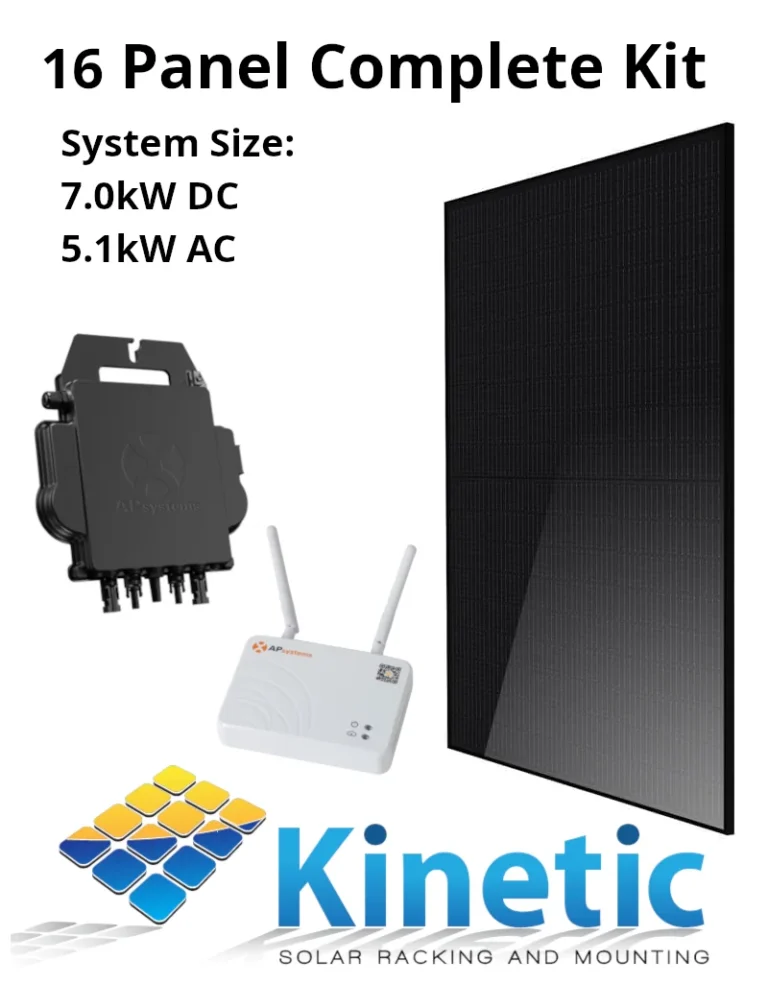
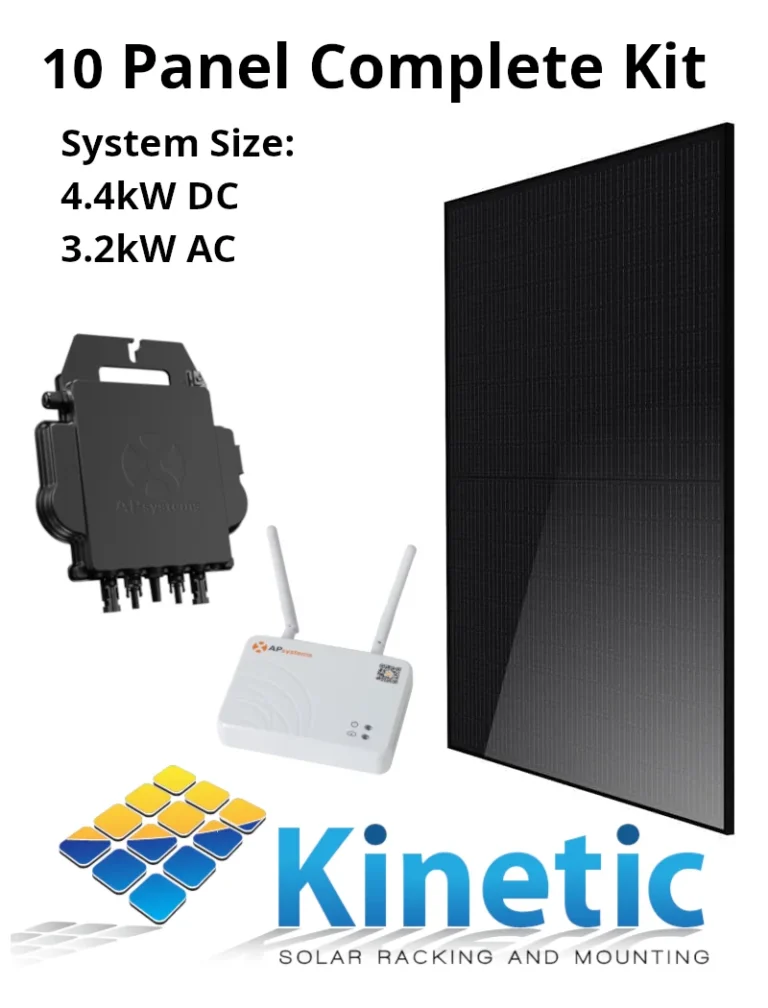
Our solar kits come with APsystems microinverters which includes an Energy Communication Unit (ECU) with an online monitoring system where you can track production in real time on your phone or computer.

Studies show that solar does increase home value. Buyers like lower utility bills and energy independence.

Co-op members are encouraged to support one another. If you have questions about your solar install, ask in the forum and we’ll do our best to help! If you have any questions regarding your electrical design, you should be able to rely upon your electrician to resolve it.


Start Planning Your Solar Install!

Many Canadians have already installed DIY solar on their own homes (check the forum completed-project tag). Your next click begins the journey: